RANGE OF MOTION
General Information
Passive range of motion exercises are done to preserve flexibility and mobility of the joints on which they are performed. It is important to perform these exercises to prevent deformities. All the exercises should be done several times a day. A good time to do them is after the baby's bath or at each diaper change. Your physical therapist will tell you how many times to do each one. These exercises should be done slowly and steadily. Never force a joint. Damage to the joint space can occur if too much force is applied. Joint range of motion is done on one joint at a time. Stabilize with one hand just above the joint and place your other hand below the joint to move the part through its full range of motion.
Knee
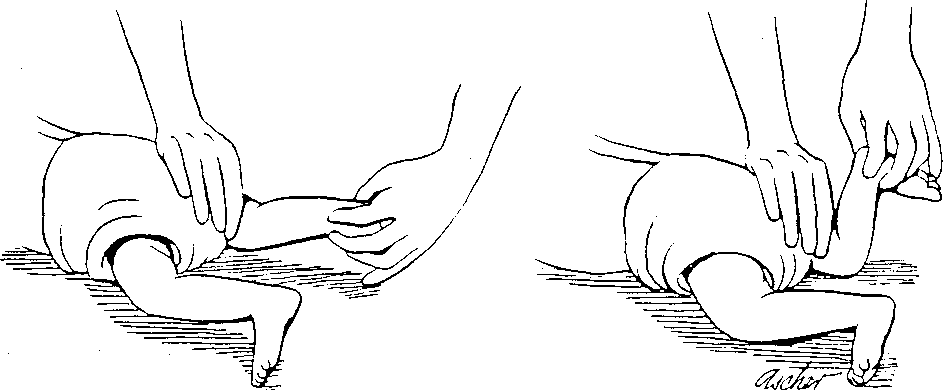
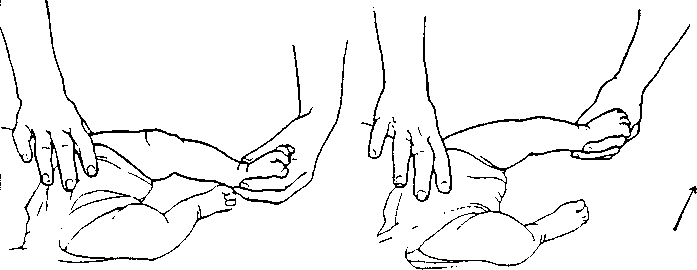
1. KNEE FLEXION AND EXTENSION
Starting Position
Place child on stomach.
Hand Placement
Stabilize with one hand just above the knee. Hold lower leg with your other hand.
Motion
Bend knee as much as possible (see Figure 1). Then straighten knee as much as possible (see Figure 2).
Hip
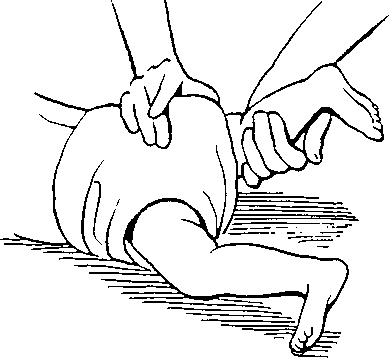
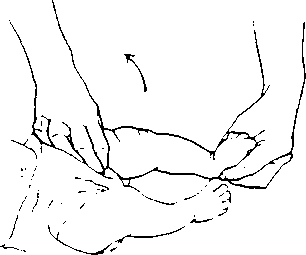
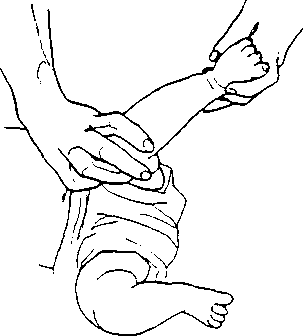
2. HIP EXTENSION Starting Position
Place child on stomach.
Hand Placement
Place one hand on top of seat; place other hand under knee.
Motion
Lift leg straight up while holding seat down.
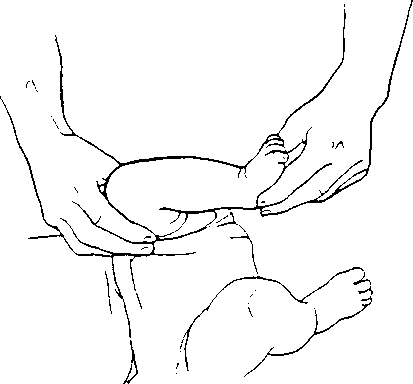
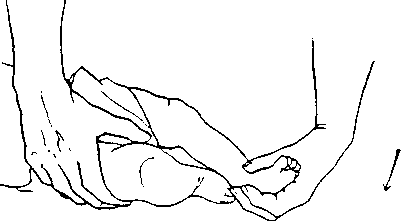
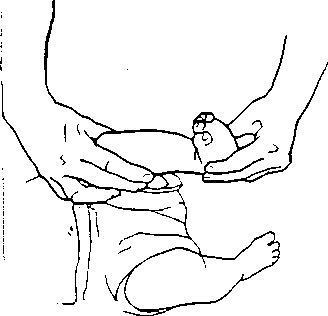
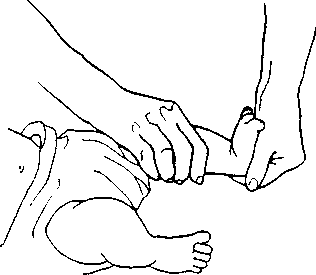
3. HIP FLEXION
Starting Position
Place child on back, lying with leg straight.
Hand Placement
Place one hand on upper leg; grasp sides of foot with other hand.
Motion
Bend knee toward chest (see Figure 1). Bring leg all the way down (see Figure 2).

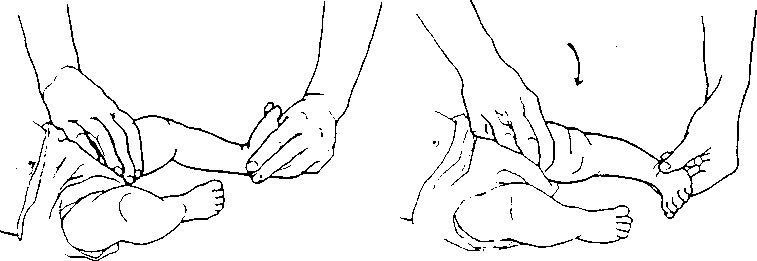
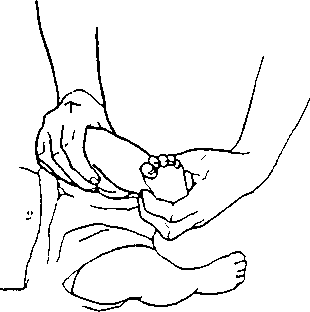
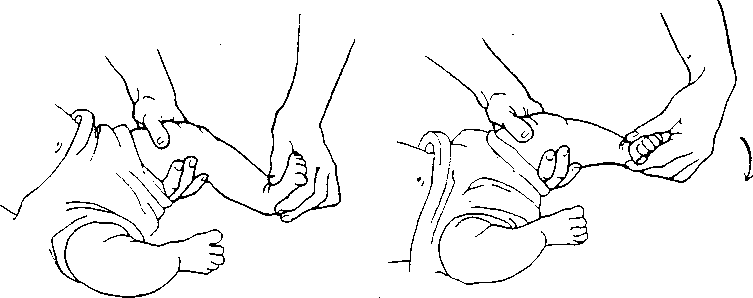
4. HIP ABDUCTION-ADDUCTION
Starting Position
Place child on back, lying with other leg out to the side.
Hand Placement
Stabilize with one hand on hip; the other hand on heel (see Figure 1).
Motion
Slide leg out to the side- (see Figure 2) and then slide leg back in as far as possible (see Figure 3). Do not let knee roll outward or inward.
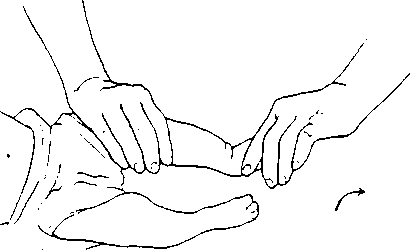
5. HIP ROTATION—HIP STRAIGHT
Starting Position
Lay child on back.
Hand Placement
Place one hand on thigh, one hand on heel (see Figure 1).
Motion
Roll leg in (see Figure 2) and then out, using hand on thigh (see Figure 3).
6. HIP ROTATION — HIP BENT
Starting Position
Place child lying on back.
Hand Placement
Place one hand on thigh, one hand on heel (see Figure 1).
Motion
First roll knee inward (see Figure 2} and then outward (see Figure 3).
Ankle and Foot
7. ANKLE PLANTARFLEXION
Starting Position
Lay child on back.
Hand Placement
Stabilize with one hand on leg; grasp foot with other hand.
Motion
Bend ankle down as much as possible.
8. ANKLE DORSIFLEXION
Starting Position
Lay child on back.
Hand Placement
Stabilize with one hand on leg; grasp heel with other hand.
Motion
Pull heel down and bend ankle as much as possible.
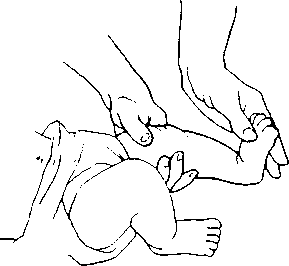
9. ANKLE INVERSION AND EVERSION
Starting Position
Lay child on
back.
Hand Placement
Stabilize with one hand on leg; grasp outside of foot (see Figure 1).
Motion
Turn foot in (see Figure 2) and then turn foot out (see Figure 3).
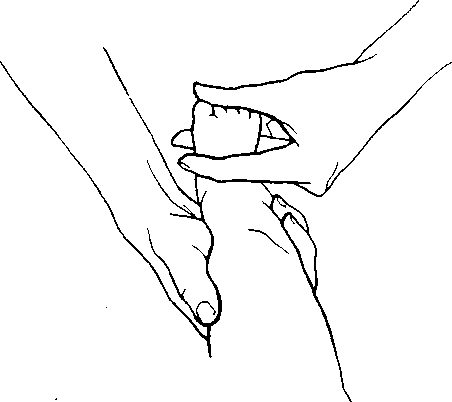
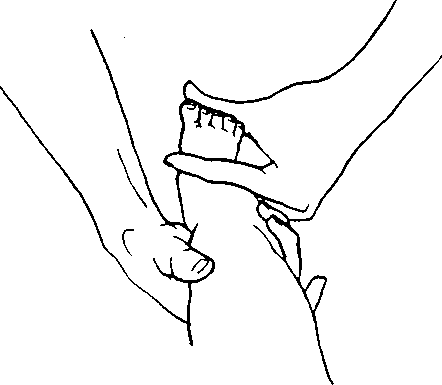
10. TOES
Place child lying on back.
Hand Placement
Stabilize with one hand on lower leg; stabilize ankle with the other hand.
Motion
Bend the toes upward. Do not touch the ball of the foot.
11. TOE FLEXION
Starting Position
Place child lying on back.
Hand Placement
Stabilize with one hand on lower leg; stabilize ankle with other hand.
Motion
Bend the toes down.